Laser Cutters
Laser Cutters
How to Use the Laser Cutters The makerspace has three operational laser cutters for wood, acrylic, and metal engraving. These tools use focused laser energy to cut or engrave materials with high precision.
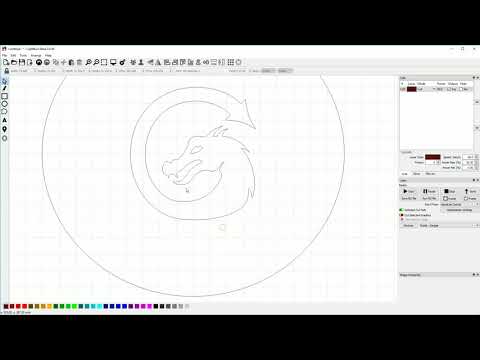
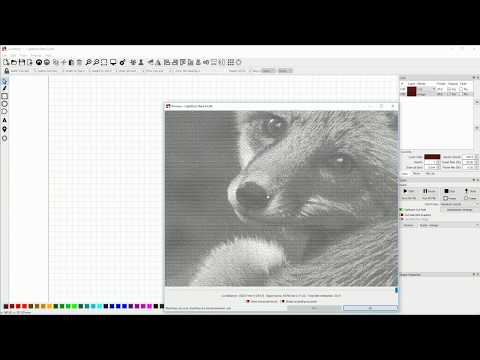
1. Design your file – Create or import vector graphics (.SVG, .DXF, .AI) or raster images (.JPG, .PNG) using Inkscape, LightBurn, or GIMP.
2. Prepare your file – Set up cut, engrave, and score layers in LightBurn. Adjust speeds, power, and passes for your material.
3. Power up and home the laser – Turn on main power, exhaust, and chiller (for CO₂ lasers). Home the head in LightBurn.
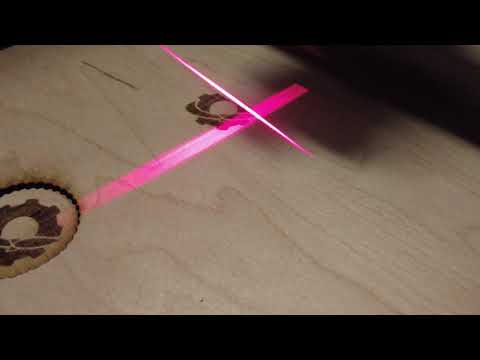
4. Focus and frame – Adjust focus, then frame your job to ensure correct positioning.
5. Run your job – Start from LightBurn or the control panel. Monitor the entire job for safety.
6. Clean up – Remove debris, wipe down the bed, and leave the area clear.
CO₂ Laser Cutters
CO₂ laser cutters are ideal for cutting and engraving wood, acrylic, leather, and paper products.
They operate by directing a high-powered infrared laser beam through mirrors and lenses to vaporize material along a programmed path.
| Laser | 100W CO₂ Laser (Laser Rick) | 150W CO₂ Laser (Large Bed) | See Our Laser Cutters in Action: |
|---|---|---|---|
| Image | 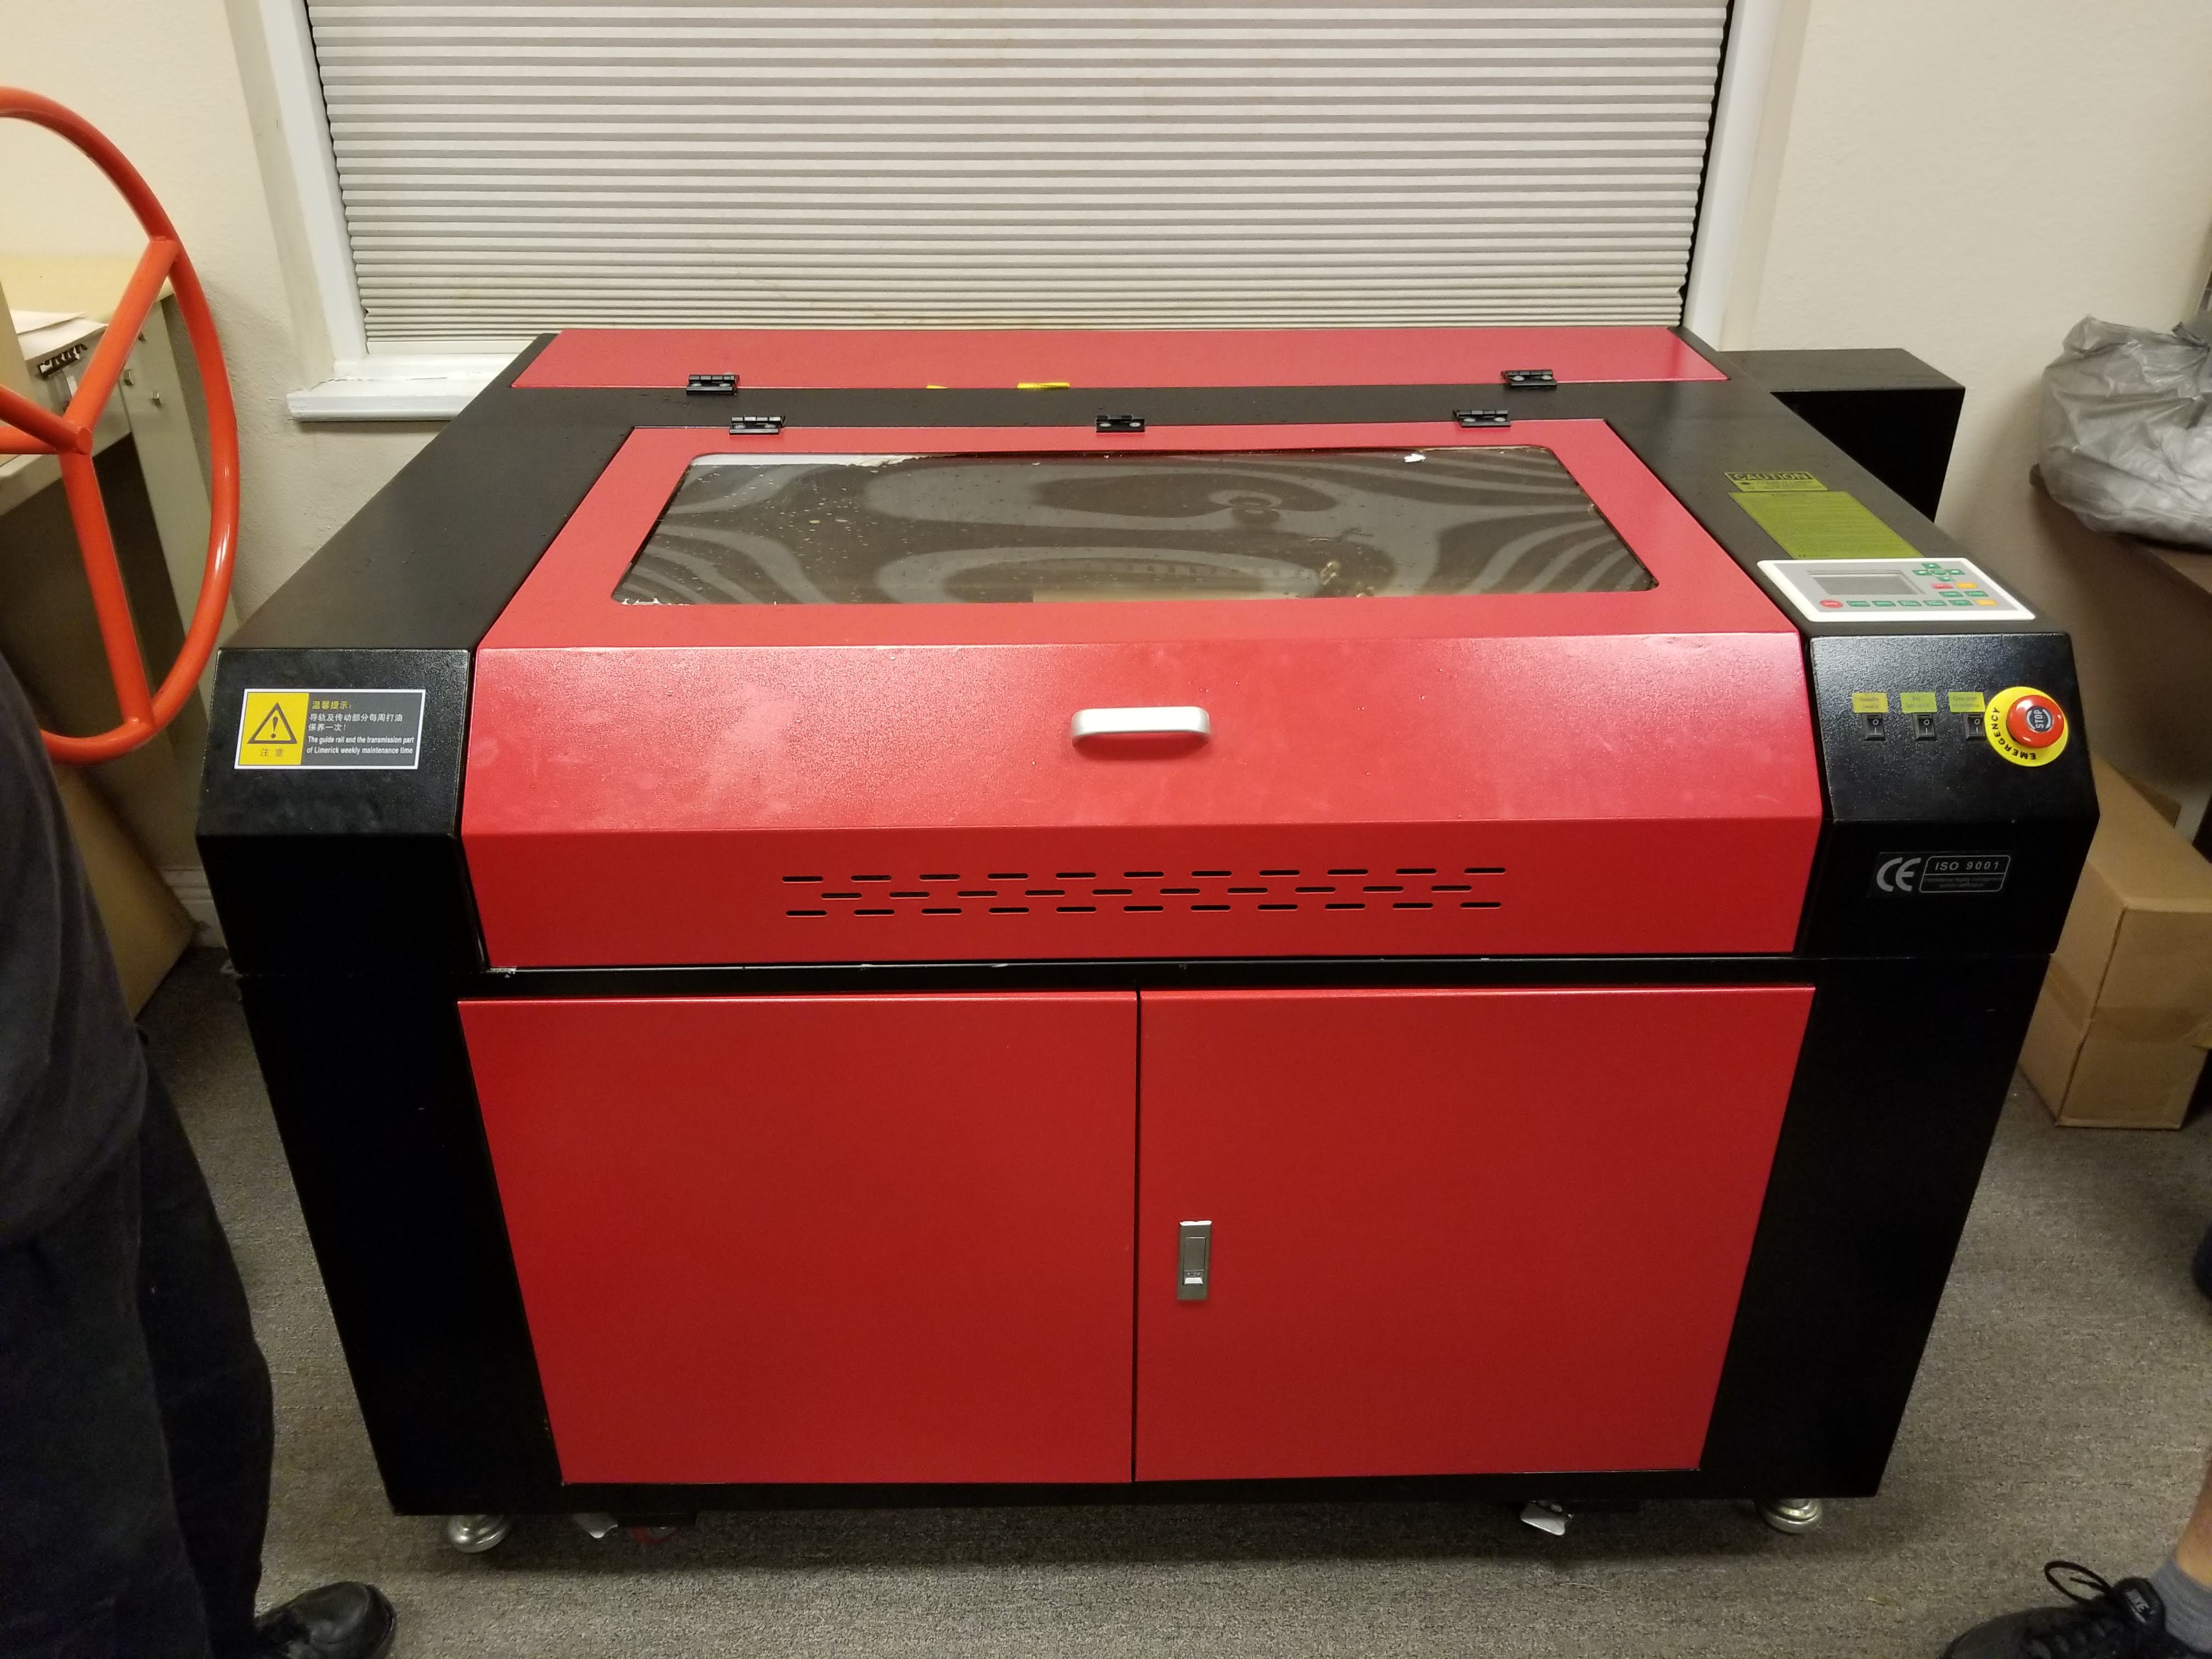 |
 |
 |
| Controller | Ruida 644XG | Ruida 644XG | |
| Laser Power | 100 W CO₂ | 150 W CO₂ | |
| Bed Size | 880 × 650 mm (34″ × 25″) | 1300 × 900 mm (51″ × 35″) | |
| Software | LightBurn / RDWorks | LightBurn | |
| Connectivity | USB / Ethernet | USB / Ethernet | |
| Compatible Materials | Wood, Acrylic, Paper, Leather | Wood, Acrylic, Paper, Leather | |
| Forbidden Materials | PVC, Polycarbonate, ABS, Vinyls | PVC, Polycarbonate, ABS, Vinyls | |
| Status | Under Repair | Operational | |
| Documentation | 100W Laser Cutter Instructions (PDF) | — | |
| Notes | Known as Laser Rick — great for engraving and cutting up to ¼″ wood and acrylic. | Large-format laser ideal for sheet cutting and high-power applications. |
GoldMark Fiber Laser
The GoldMark Fiber Laser is designed for metal and non-metal etching.
It does not cut materials but can precisely mark text, logos, and graphics on a wide variety of surfaces.
| Laser | GoldMark Fiber Laser |
|---|---|
| Image |  |
| Type | Fiber / Galvo Laser |
| Purpose | Metal and non-metal etching (not cutting) |
| Software | LightBurn |
| Status | 🟢 Operational |
| Notes | Excellent for permanent metal engraving and fine detail work on non-metals. Cutting is not supported. |
Control Software
| Software | Description |
|---|---|
 LightBurn LightBurn |
Primary control and design software for all lasers (CO₂ and Fiber). |
 RDWorks RDWorks |
OEM control software for Ruida controllers. Use only if LightBurn is unavailable. |
| Vector design software for laser cutting. | |
 GIMP GIMP |
Raster image editing for engraving preparation. |
 MakerCase MakerCase |
Automatically generate box-cutting templates. |
Training & Tutorials
LightBurn Video Tutorials
 |
 |
|---|---|
| Lesson #1 – First Time User | Lesson #2 – LightBurn UI Walkthrough |
 |
 |
|---|---|
| Lesson #3 – Cut Settings | Demo – A Project from Start to Finish |
Materials & Recommended Settings
Approved Materials - Acrylic plastic
- Cardboard, cardstock, cover stock, paper
- Plain wood
- Interior plywood
Forbidden Materials - ABS
- Exterior plywood
- HDPE
- PVC or other vinyls
- Polycarbonate (Lexan)
- Polystyrene
- Any metal (for CO₂ machines)
⚠️ Always ask a Tool Master if you’re unsure whether a material is safe to cut.
Power and Speed Settings
Note that there can be some variation in cutting media and in laser performance.
It is recommended that you make a test cut on a piece of waste material to verify these settings and adjust accordingly before beginning your main project.
| Material | Thickness | Etch / Cut | Speed (mm/s) | Power (%) | Passes |
|---|---|---|---|---|---|
| Acrylic | .080" | Etch | 100 | 30 | 1 |
| Acrylic | 1/8" | Cut | 10 | 20 | 1 |
| Acrylic | 1/4" | Cut | 5 | 30 | 2 |
| Acrylic | 11mm | Cut | 5 | 35 | 2 |
| Card Stock (65lb) | NA | Cut | 50 | 15 | 1 |
| Cork | 1/4" | Etch | 300 | 15 | 1 |
| Fabric, Light Cotton | NA | Cut | 50 | 15 | 1 |
| Plywood | 1/8" | Etch | 300 | 30 | 1 |
| Plywood | 1/4" | Etch | 250 | 30 | 1 |
| Plywood | 1/8" | Cut | 5 | 20 | 1 |
| Plywood | 1/4" | Cut | 5 | 25 | 1 |
| Plywood | 1/2" | Cut | 5 | 40 | 2 |
| Posterboard | NA | Cut | 50 | 15 | 1 |
| Wood, Poplar | 1/4" | Etch | 150 | 30 | 1 |
| Wood, Poplar | 1/4" | Cut | 5 | 30 | 1 |
| Wood, Poplar | 1/2" | Cut | 5 | 40 | 1 |
| Wood Veneer | 1/16" | Cut | 15 | 16 | 1 |
Fiber Laser Basic Workflow for Flat Objects
- Power On:
- Ensure the design/control PC is powered on.
- Turn on the Z-axis controller using the small red switch on the side of the controller box.
- Turn on the laser with the key switch on the front of the GoldMark box.
- Ensure the design/control PC is powered on.
- Design or Import Your Artwork:
- Create your design in LightBurn.
- Default starting settings:
- Speed:
2000 mm/s
- Power:
100%
- Frequency:
40 Hz
- Speed:
- ⚠️ For plastics and non-metals:
- Frequency:
60 Hz
- Power:
30%
- Speed:
2000 mm/s
- Frequency:
- Create your design in LightBurn.
- Set the Focal Distance:
- Place your object on the stage.
- Use the UP/DN buttons on the small black box to adjust focus height.
- Use the 350 mm spacer to measure from the object’s surface to the seam on the silver portion of the laser head.
- Place your object on the stage.
- Frame and Burn:
- In LightBurn, click Start / Frame → Live Framing window appears.
- Adjust your piece until the low-power guide laser outlines your engraving area.
- Close the enclosure door.
- Press Start in the Live Framing window to begin the burn.
- In LightBurn, click Start / Frame → Live Framing window appears.
- Shutdown:
- When done, turn off both the laser and Z-axis controller.
- Clean up the workspace and leave it ready for the next user.
- When done, turn off both the laser and Z-axis controller.
That’s it; enjoy your laser-etched masterpiece!
Fiber Laser List of Burnable Materials
| Metals | Non-Metals |
|---|---|
| Aluminum | Colored Acrylic |
| Gold | Hard Plastics |
| Silver | Brick |
| Copper | Granite |
| Stainless Steel | Marble |
| Brass | Tile |
| Titanium | Nylon |
| Tungsten | ABS |
| Ceramic | |
| River Rock | |
| Precious Stones | |
| Artificial Leather | |
| Cardboard |
Tool Masters
| Name | Role | Contact |
|---|---|---|
| Mike Case | Laser Tool Master | Member Page |
| Josh Pritt | Laser Tool Master | Member Page |
| Tony Bellomo | Laser & Fiber Laser Master | |
| Mike Batton | Laser Tool Master | |
| Trevor Schmitt | Laser Tool Master | Member Page |
| Ryan Lash | Laser Tool Master | Member Page |
| Mark Mathews | Fiber Laser – Flat Objects | |
| Joshua Johnson | Fiber Laser – General Use |
Friendly Laser Usage
- Supervision Required: Never leave a laser job unattended.
- One User at a Time: Limit to one laser per person during busy times.
- Ventilation: Always enable exhaust fans and air assist before cutting.
- Material Safety: Verify material type before using any laser.
- Focus First: Always check focal distance before engraving.
- Clean After Use: Remove scraps, vacuum debris, and wipe surfaces.
- Respect Shared Space: Keep the area organized and ready for others.
- Log Issues: Report problems on the issue page.
categories: tools